
Hello Bloggers!
In my sculpture class we are making 8" tall paper lanterns out of balsa wood and recycled paper. In this blog I will walk you through the process of making the paper and maybe later I'll post about how to actually make the lantern. :)
The first step to every project is assembling the things you will need.
- A deep container (called a "vat")
- Sponge
- Bucket
- Blender
- Paper (I use colored but you can use anything, including poster board and news paper)
- Bleach
- Normal copy paper (not for the paper making process)
- A washable surface or LOTS of paper over the surface you're working on.
- Frame and Deckle (I will explain what they are later or you can refer to the second picture)


Now that you have gathered everything that you need, let's start making paper!! Get the paper that you want to recycle and start tearing it up into smaller pieces. I used this fushia color to start with. depending on how many sheets of paper you want to make will effect how much paper you tear up.
 After shredding up your paper, soak the pieces in the bucket with water in it. Breaking the paper before you soak allows for a quicker absorption rate. You can also us warmer water to soften the paper faster. While you wait you can go ahead and fill up your deep contrainer with water. Don't fill it too full because some water will be added when you put in the paper pulp. Put a very small amont of bleach in the bigger bucket. This keeps the paper from molding later on. Too much will strip the color out of the paper and it won't be as vibrant as you want it to be.
When your paper is soft enouch (meaning you can pull it apart without having to try to rip it) you can put the soaked paper in a blender. Fill the blender about halfway up with paper and then add enough water so that the paper starts to float. Pulse the blender three times and then turn it on high for 30-45 seconds. The product of this mixture should look kind of chunky or (as my friends say) like colorful throwup.


Put this mixture into the vat that you've already filled with water and the LITTLE bit of bleach.

Now you're ready to start making your paper. Grab the frame and deckle. A frame is just 4 pieces of wood put togeter. A deckle is like a frame only it has a screen over, like a strainer/ collander for pasta. You're going to put the deckle under the frame with the screen part between them. if the screen part is at the very bottom then you will not be able to get your paper out! Stir up the mixture in the vat and stick the frame and deckle in and pull towards yourself. As you pull in, ark your F&D so that it is actually in the water. Pull straight up and then let the water drain off the side. Don't hold it at a 90 degree angle from the water or the paper will just slide off.


Remove the frame so you just have the paper on top of the deckle. Remember that extra paper that I said wasn't for the paper making? You can now use it! I used an old cardboard pizza box because I was making a LOT of paper at the time. The good thing about the paper instead of cardboard is that the paper doesn't absorb all the extra water and fall apart.
Flip the deckle over (don't worry, the paper won't fall off but it's best to not flip it over like you're jack rabbit or something, remember, the turtle won the race in the end). Slowly place the deckle to the dry paper you're putting it on. DON'T PULL AWAY YET! You're not done. Grab your sponge and try to soak up all the moisture you can through the back. If you squeeze your sponge and water still falls out, keep sponging. When it stops, pull up from one corner. If it looks like the fibers came through the screen on the deckel and it might be tearing, tap on the screen and it'll loosen.


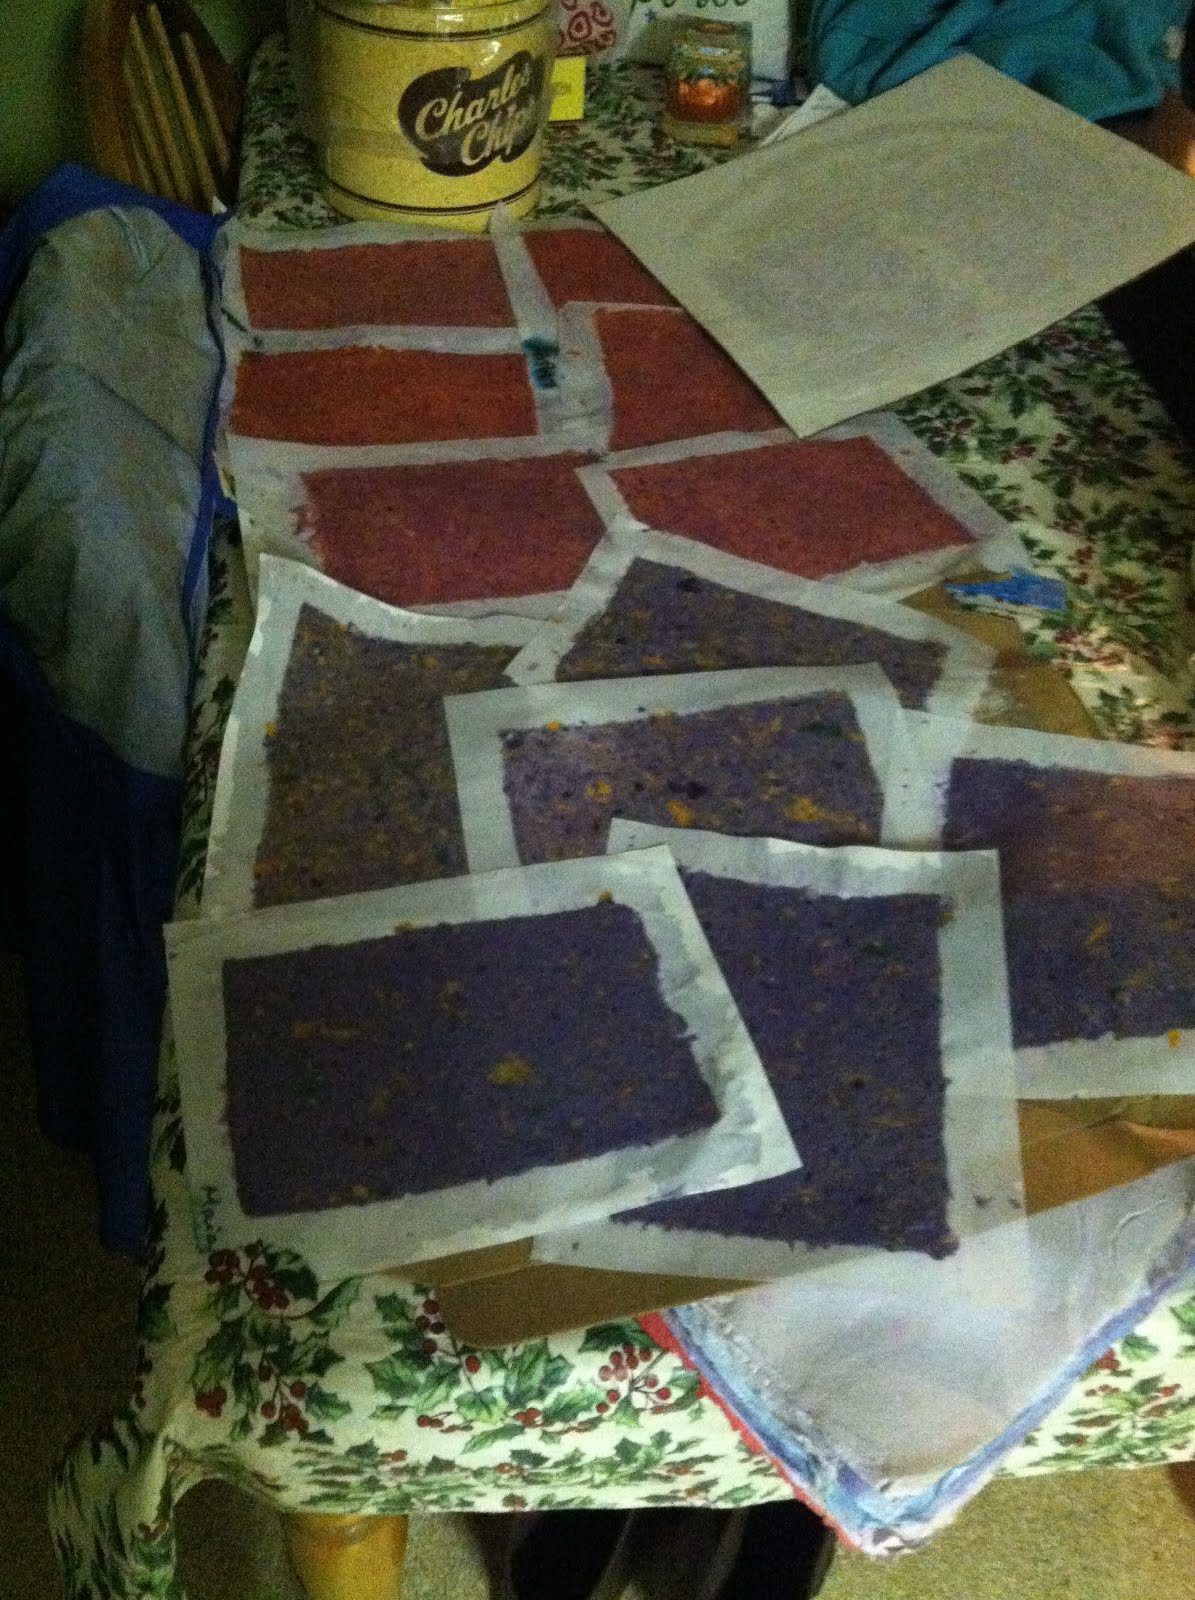
Keep doing this, with many different colors and soon you'll have enough to make your own scrapbook or a paper lantern like I will be.


Thanks for the tutorial. You're awesome!!!
ReplyDelete